
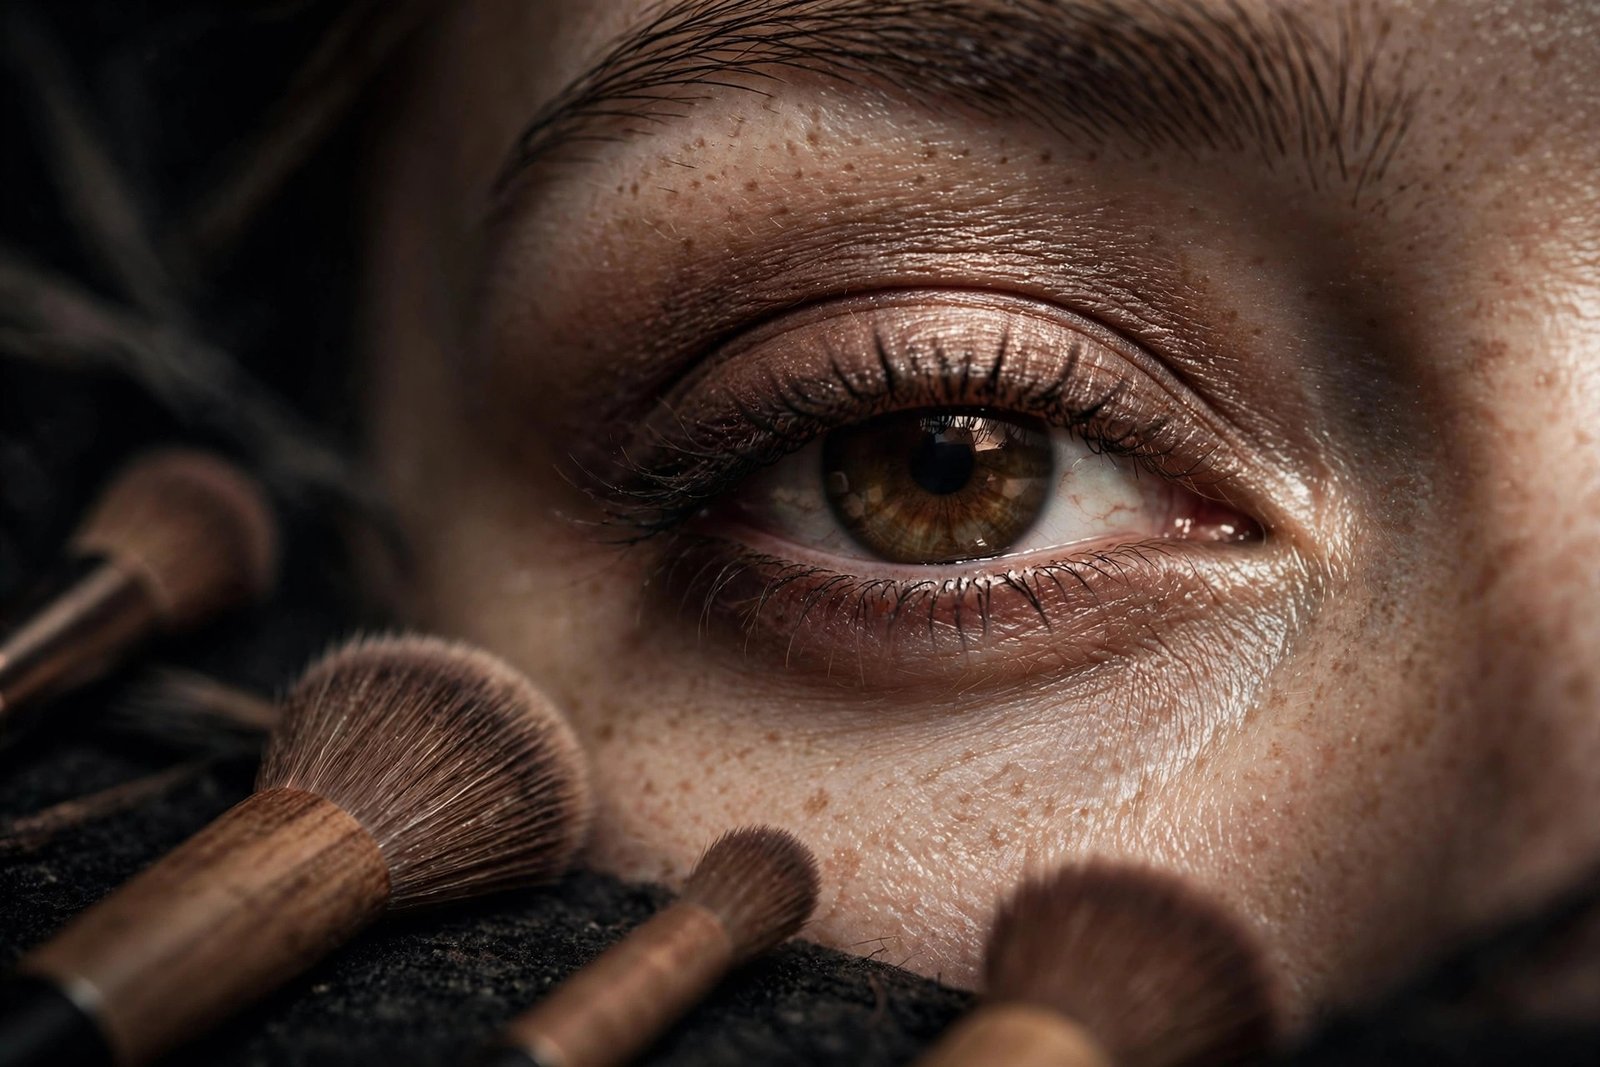
The smoky eye is makeup’s most requested and most feared look — one wrong move and you’re not smoldering, you’re a raccoon. But the smoky eye isn’t actually advanced technique. It’s three learnable skills (blending, building gradually, and knowing when to stop) applied in a specific order. Beginners fail because tutorials skip the fundamentals and jump to the drama. This guide doesn’t skip anything.
The Beginner’s Toolkit (Minimal)
You need less than you think: an eyeshadow primer (non-negotiable — it prevents creasing and makes blending possible on bare lids), three shadows in the same color family (light, medium, dark — a quad with a highlight shade is ideal), two brushes (a fluffy blending brush and a smaller packing brush; a pencil brush helps for detail), black or dark brown eyeliner, mascara, and makeup remover with cotton swabs for cleanup. That’s it. The 20-brush sets are for later.
Color choice for beginners: brown or bronze smoky eyes before black. Brown is forgiving — mistakes blend into softness, while black mistakes look harsh and are harder to fix. Master the technique in brown, then graduate to charcoal and black. This single decision prevents 80% of beginner disasters.
Prep: The Step That Determines Everything
Apply primer from lash line to brow bone and let it set for 60 seconds. Then — the step every beginner tutorial skips — set the primer with a translucent powder or skin-toned shadow across the entire lid. This creates a smooth, dry canvas that lets dark shadows blend instead of grabbing patchily onto tacky primer. Patchy, unblendable dark shadow is almost always a skipped-setting-step problem, not a skill problem.
Do your eye makeup before foundation. Fall-out (dark shadow particles drifting onto cheeks) is inevitable for beginners, and it’s infinitely easier to wipe away fallout from bare skin than to fix it over foundation. This ordering trick alone saves most beginner looks.
The Technique: Build in Layers, Blend Between Each
Step 1: Transition Shade (The Map)
With the fluffy blending brush, sweep the medium shade through the crease in windshield-wiper motions. This isn’t the visible color — it’s the gradient foundation that makes the dark shade blend seamlessly instead of sitting as a harsh block. Blend until you can’t see where the color starts. This invisible step is what separates smooth smoky eyes from muddy ones.
Step 2: Depth (The Drama)
Pat (don’t sweep) the dark shade onto the outer third of the lid and into the outer crease with the packing brush — patting deposits color, sweeping moves it around. Then take the clean fluffy brush and blend the edges where dark meets the transition shade, using small circles. The rule: dark color stays on the lid, blending happens at the edges. Beginners’ biggest error is sweeping dark shadow all over — restraint creates the gradient.
Step 3: Define and Brighten
Line the upper lash line with dark liner and smudge it with the pencil brush — the smudged liner melts into the shadow for the signature smokiness. Add the light shade to the inner corner and brow bone (this contrast is what makes eyes look bigger and the look intentional rather than bruised). Tightline the upper waterline for depth without harshness.
Step 4: The Lower Lash Line (Where Restraint Matters)
Smudge a small amount of the medium shade along the outer two-thirds of the lower lash line — connecting top and bottom is what makes it “smoky” rather than just dark lids. But keep it to the outer two-thirds; full lower-lid darkness closes the eye and reads raccoon. Blend thoroughly — harsh lower lines are the fastest route to the look going wrong.
Step 5: Mascara and Cleanup
Two coats of mascara (the lashes frame the smoke). Then cleanup: a cotton swab with micellar water or makeup remover, swept underneath in one clean motion, sharpens the lower edge and removes fallout. This crisping step is what makes the look read “polished” instead of “slept in it.”
Beginner Mistakes and Instant Fixes
Too dark too fast: build in three thin layers, not one heavy one. You can always add; removing over-applied dark shadow stains the lid.
Skipping the transition shade: the number-one cause of the “muddy blob” — without the mid-tone gradient, dark shadow has nothing to blend into.
Symmetry panic: eyes are sisters, not twins. Get them close, then stop — over-correcting one eye to match the other is how both get ruined.
Wrong brushes: dense packing brushes blend poorly; fluffy brushes deposit poorly. Using each for its job halves the difficulty. And the layering principle applies here too — thin buildable layers beat one heavy application in makeup exactly as in clothing.
Adapting for Eye Shape
Hooded eyes: place the transition shade slightly above the natural crease (where it’s visible with eyes open), keep the dark shade controlled, and emphasize the outer corner — traditional crease placement disappears on hooded lids. Deep-set eyes: keep darkness to the outer third and lash line, brighten the lid center to bring eyes forward. Close-set eyes: concentrate darkness on the outer corners, keep inner corners light and bright. These adjustments matter more than any product choice.
And protect the canvas: the eye area is delicate, and gentle sun protection for the eye area keeps the lid skin smooth and even — textured, sun-damaged lids make every shadow look patchy regardless of technique.
The Daytime Smoky Eye
The full smoky eye is evening territory, but a soft version works for day: use the medium shade as your darkest tone (skip the near-black), keep the lower lash line minimal or bare, choose brown over charcoal, and pair with a nude lip rather than bare lips (balance matters — defined eyes need some lip presence). The technique is identical; only the intensity changes. This “soft smoke” is the most wearable version for beginners and the one you’ll actually use weekly. The American Academy of Dermatology’s cosmetic safety guidance reminds that eye-area products should be replaced regularly (mascara every 3 months) — old eye makeup causes the irritation beginners blame on technique.
For work settings, the same restraint applies: a brown soft-smoke reads polished, while black full-smoke reads evening. And whatever the occasion, Mayo Clinic’s eye health resources note the importance of removing all eye makeup before sleep — sleeping in smoky eyes risks irritation and infection, and no morning look is worth that.
Conclusion
The beginner smoky eye is five steps: primed-and-set lids, transition shade mapped through the crease, dark shade patted on the outer lid and blended at edges, smudged liner with brightened inner corners, and controlled lower-lash smoke finished with mascara and cleanup. Start in brown, build in thin layers, do eyes before foundation, and stop before symmetry panic sets in. Practice three times and the “advanced” look becomes muscle memory. The raccoon phase is mandatory and temporary — every smoky-eye expert went through it.
Frequently Asked Questions
How do you do a smoky eye for beginners?
Prime and set lids, sweep a medium transition shade through the crease, pat dark shade on the outer lid and blend edges, smudge dark liner into the lash line, add light shade to inner corners, smoke the outer lower lash line, finish with mascara and cleanup. Start with brown shades — far more forgiving than black.
What brushes do I need for a smoky eye?
Two essentials: a fluffy blending brush (for transitions and softening edges) and a smaller packing brush (for depositing dark color). A pencil brush for smudging liner is the useful third. Quality matters more than quantity.
How do I keep eyeshadow from looking muddy?
Always use a transition shade between skin and dark color, build in thin layers, blend with a clean fluffy brush between steps, and set primed lids with powder first so shadow doesn’t grab patchily. Muddy = skipped gradient steps.
Can hooded eyes wear smoky eye looks?
Yes — place the transition shade above the natural crease where it shows with eyes open, keep dark tones controlled and focused on the outer corner, and emphasize lash-line definition. The technique adapts; only the placement changes.