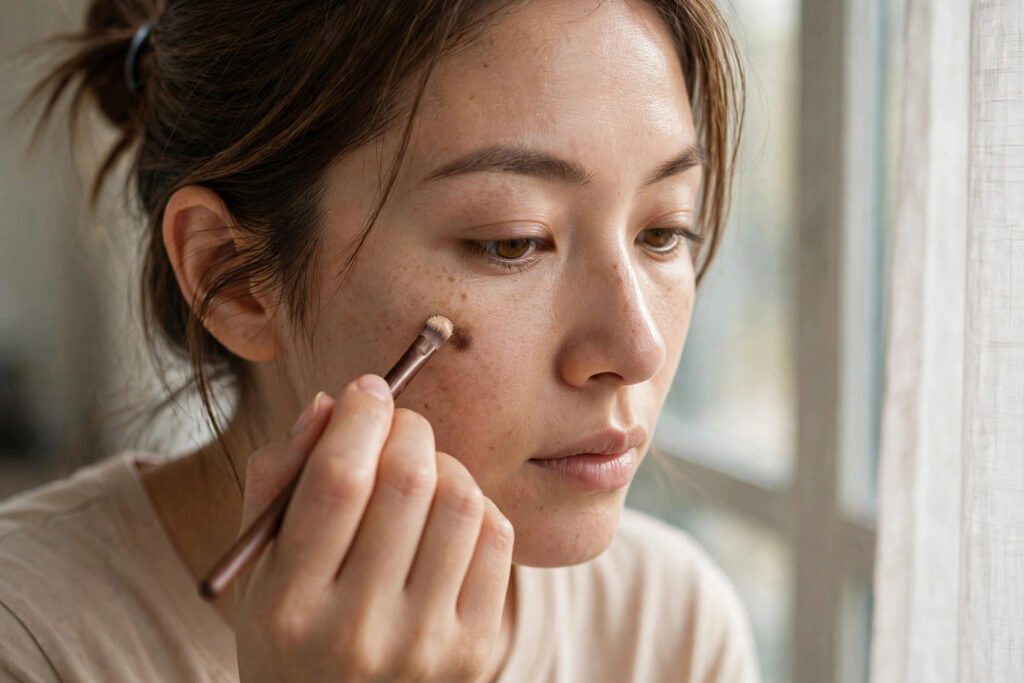
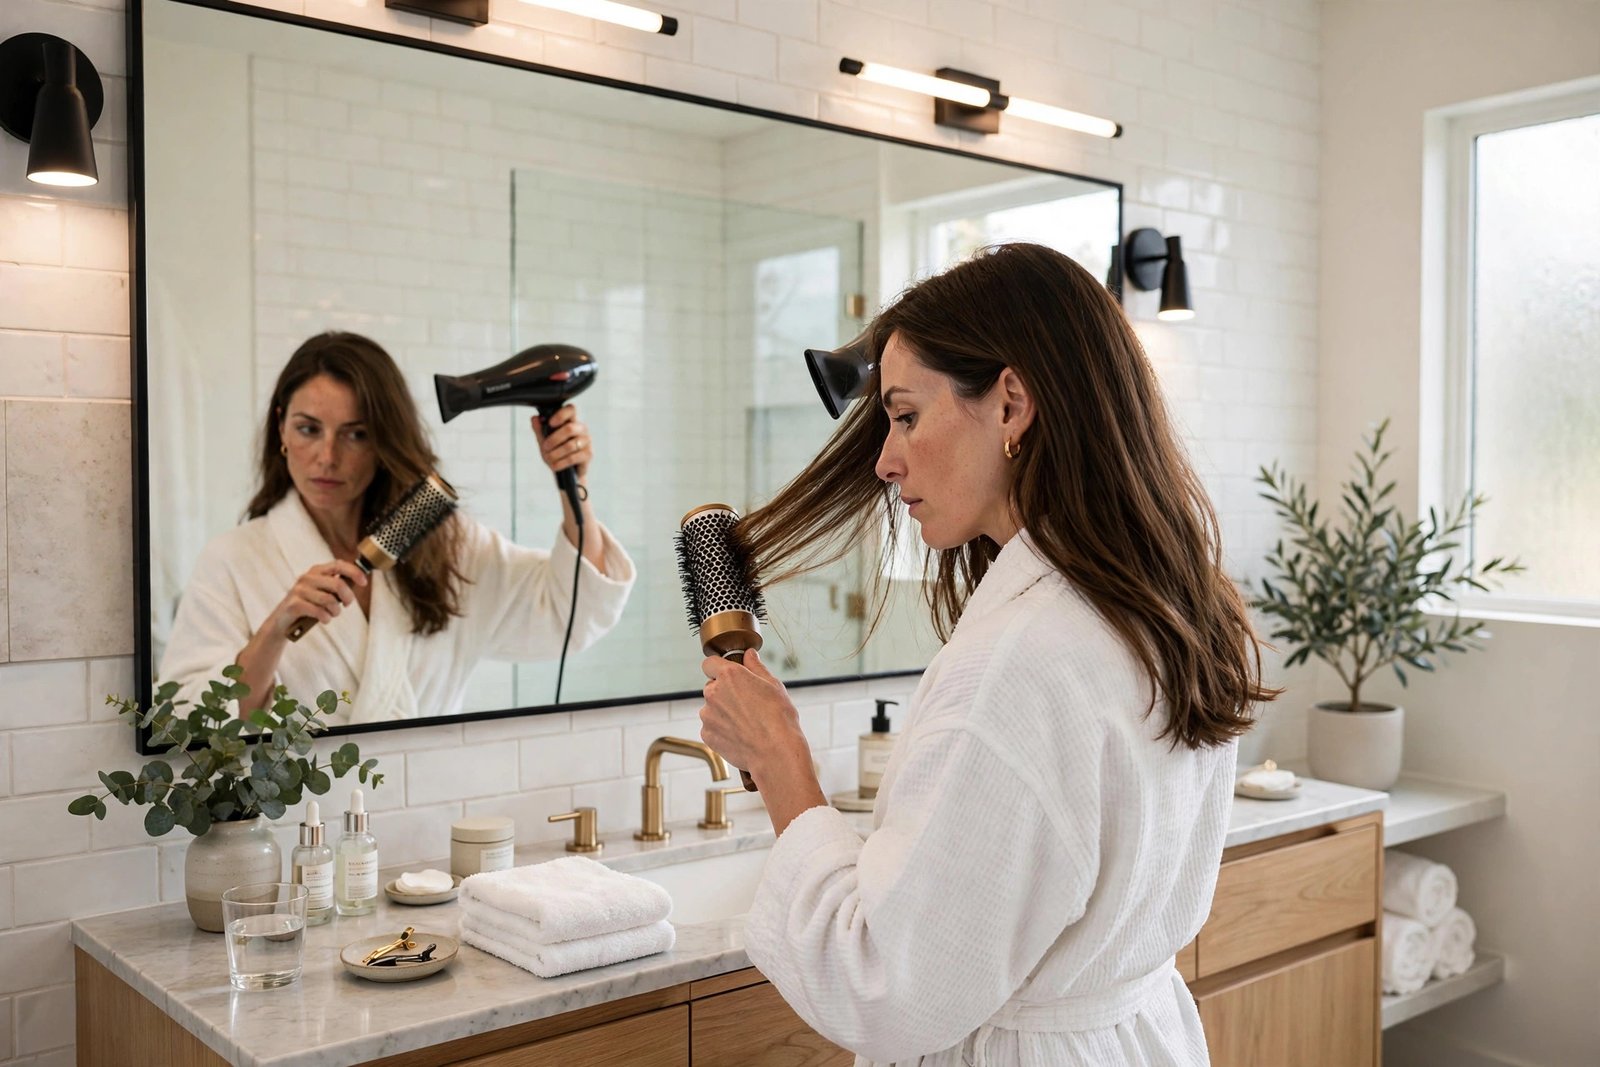
A Chicago salon blowout costs $50–$75 and lasts until the lakefront humidity murders it. But the technique behind that bouncy, glossy, expensive-looking finish isn’t magic — it’s a learnable skill with about $60 in tools and some practice. Stylists aren’t doing anything you can’t do; they’re just doing it in the right order with the right tension. Here’s the complete at-home method, including the mistakes that separate salon results from frizzy disappointment.
The Tools: What You Actually Need
Forget the $400 Dyson hype for now — technique beats tools. You need: a decent ionic dryer with a nozzle attachment (the nozzle is non-negotiable; it concentrates airflow down the hair shaft, which is what creates smoothness), a round brush (medium barrel for shoulder-length hair, large for long; boar bristle or mixed bristle grips best), heat protectant spray, a lightweight smoothing serum or cream, sectioning clips, and a paddle brush for the pre-dry.
The dryer matters more than the brush. Look for 1875+ watts, multiple heat/speed settings, and a true cool-shot button. Ionic technology genuinely reduces frizz by breaking up water droplets faster — it’s not marketing fluff. If your dryer is a decade-old drugstore model with one speed, upgrading it is the single highest-impact purchase here.
Prep: 80% of the Blowout Happens Before the Brush
Salon blowouts start at the shampoo bowl, and yours should too. Wash with a smoothing or volumizing shampoo matched to your hair type (fine hair: volumizing; thick/frizzy: smoothing), condition mid-lengths to ends only — conditioner on roots kills volume — and rinse thoroughly. Product residue is the invisible enemy of bouncy blowouts.
Towel-dry gently (squeeze, don’t rub — rubbing roughs the cuticle and guarantees frizz), then rough-dry with the dryer on medium heat, no brush, until hair is about 80% dry. This is the step home blowouts skip, and it’s the most important one: trying to round-brush soaking-wet hair takes forever, overheats sections, and produces limp results. Rough-dry first, style second. Apply heat protectant to damp hair before any heat touches it — every single time, no exceptions.
The Technique: Section by Section
Clip hair into 4–6 sections. Work one section at a time, starting at the nape (bottom layers first — they take longest and nobody sees them, so they’re your practice zone).
The Tension Secret
Here’s what stylists do that you don’t: tension. Place the round brush at the roots, pull the section taut, and follow the brush with the dryer nozzle pointed DOWN the hair shaft — always down, never up. Downward airflow seals the cuticle flat (smoothness and shine); upward airflow ruffles it (frizz). Keep the dryer moving — parking it in one spot cooks the hair. Each section gets 2–3 slow passes, then a blast of cool air while the hair is still wrapped on the brush. The cool shot sets the shape — skip it and the style falls flat in an hour.
Roots for Volume, Ends for Polish
For volume: lift each section straight up from the head while drying the roots, over-directing against the natural fall. For sleek ends: wrap the ends around the brush and pull through with tension, nozzle following. For the face-framing pieces: roll the brush away from your face for that salon flick. The crown gets special attention — it’s what people see. Finish with a pea-sized amount of serum on ends only, never roots.
Chicago-Specific Enemies: Humidity and Winter Static
Chicago’s summer humidity is the arch-nemesis of blowouts — moisture in the air re-activates frizz within hours. Anti-humidity serums and light-hold hairspray (applied from 10 inches away, never crispy-close) buy you extra hours. In winter, the enemy flips to static: dry indoor heating plus wool hats equals flyaways. A light leave-in conditioner, silk-lined hats, and keeping a dryer sheet substitute (a tiny bit of hand lotion smoothed over flyaways) manage it. Investing in a good winter coat with a smooth lining also means less hat-hair friction destroying your blowout by noon.
The Mistakes That Ruin Home Blowouts
Brushing wet hair with the round brush from the start. Rough-dry to 80% first. Always.
Nozzle pointed every which way. Down the shaft. Every pass. This one correction fixes half of home-blowout frizz.
Too much product. Product buildup weighs hair down and kills bounce. Start with half what you think you need; fine hair especially punishes over-application. And winter layering without bulk follows the same principle as product layering — light layers beat one heavy one.
Skipping the cool shot. Heat shapes, cold sets. No cool shot, no lasting style.
Doing it on dirty hair. Day-three hair with dry shampoo buildup won’t blow out well no matter your technique — the powder fights smoothness. Blowouts work best on freshly washed hair.
Protecting Color-Treated Hair During Blowouts
Blow-drying color-treated hair adds a heat-fade variable: hot air opens the cuticle and accelerates color washout, especially reds and fashion shades. Drop the heat one setting for colored hair, always use a color-safe heat protectant, and wash with sulfate-free shampoo — sulfates strip color faster than heat does. A weekly color-depositing mask between salon visits maintains vibrancy far better than any styling trick. The American Academy of Dermatology’s hair care guidance covers heat-damage prevention for chemically treated hair in detail.
Fine hair needs its own adjustments: use the smallest round brush you can manage (more tension per pass), keep product to an absolute minimum, and focus volume work at the crown where fine hair falls flattest. Thick hair is the opposite problem — work in smaller sections than you think necessary, because thick sections never dry fully at the core, and damp cores collapse the style within an hour. Mayo Clinic’s healthy hair resources explain how hair structure differences change styling needs.
Making It Last: Days 2 and 3
Sleep on a silk or satin pillowcase (cotton creates friction frizz overnight), loosely pineapple long hair on top of your head, and refresh roots with a tiny amount of dry shampoo applied the night before (it absorbs overnight oil by morning). A 5-minute touch-up with the round brush on just the front sections revives the whole style. Most at-home blowouts last 2–3 days with this maintenance — matching salon longevity at zero marginal cost.
Conclusion
Salon-quality blowouts at home come down to five things: rough-dry to 80% before brush-styling, nozzle always pointed down the shaft, real tension on every section, cool shot to set, and minimal product. Practice on the hidden bottom layers first; your technique will click around the third or fourth attempt. Chicago weather will still challenge you — humidity in July, static in January — but the foundation technique handles both with minor adjustments. Your arms will ache the first few times. That’s how you know you’re doing it right.
Frequently Asked Questions
How do I get volume in my blowout at home?
Lift sections straight up while drying roots (over-directing), use a volumizing mousse on damp roots, and hit the crown with the cool shot while lifted. Velcro rollers on the crown for 10 minutes after blow-drying add serious lift.
Why is my at-home blowout frizzy when salons aren’t?
Usually three causes: nozzle not pointed down the hair shaft, skipping the rough-dry to 80% first, or no cool shot to set the style. Fixing the nozzle direction alone eliminates most home-blowout frizz.
What heat protectant is best for blowouts?
Any spray or cream with silicones or polymers designed for blow-drying — the format matters less than consistent use. Apply to damp hair before any heat, every time. Skipping it causes cumulative damage that no technique can hide.
How long should a blowout take at home?
30–45 minutes for medium-length hair once you’re practiced, including the rough-dry. The first attempts take over an hour — that’s normal. Speed comes from sectioning discipline and not re-working sections that are already done.