
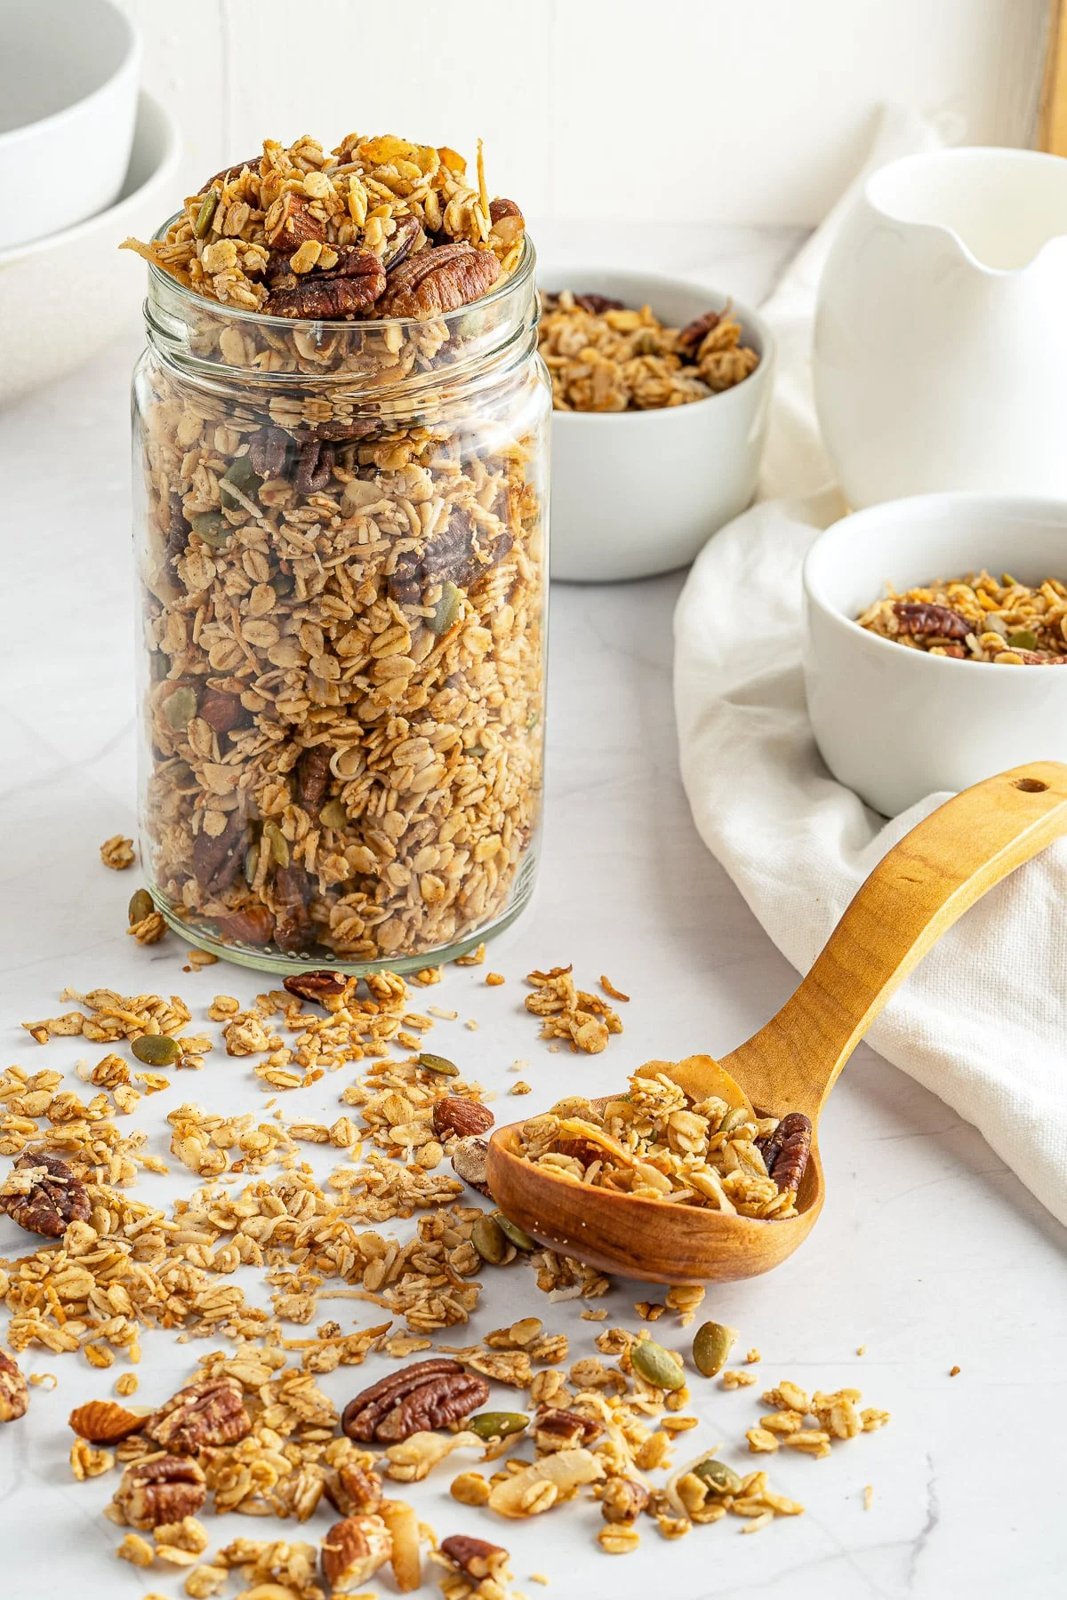
Homemade granola has a cruel habit: gloriously crunchy on day one, disappointingly chewy by day four. I fought this for years before figuring out that making homemade granola that stays crunchy for weeks isn’t about the recipe — it’s about moisture elimination and storage discipline. Get those right and a batch stays crisp for a month.
Here’s the method, the science of why granola goes soft, and the storage rules that actually hold up.
The Low-and-Slow Bake: Drying, Not Just Toasting
Granola goes soft because of residual moisture, so the goal of baking is dehydration as much as browning. Spread your mixture no thicker than half an inch on a parchment-lined sheet pan — crowding steams instead of crisps — and bake at 300°F (not 350) for 40 to 50 minutes, stirring every 15 minutes. The lower temperature drives out moisture gradually without burning the sugars before the interior dries.
It’s done when it looks golden and feels dry to the touch; it will crisp further as it cools, so don’t wait for it to feel crunchy in the oven — that’s overbaking. The egg-white trick helps enormously for clusters: whisk one egg white into your wet ingredients and it acts as a protein binder that dries crisp. Honey and maple syrup also bind well; use about 1/2 cup sweetener per 4 cups of oats. Oil matters too — 1/3 cup of coconut or neutral oil per batch coats the oats so they toast rather than steam.
The Cooling Step Everyone Skips
Here’s the step that changed my granola game: after baking, press the hot granola firmly into an even layer with a spatula and then don’t touch it until it’s completely cool — at least an hour. As the sugars cool, they harden and cement everything into clusters. Stirring while warm breaks those bonds and releases steam that softens everything.
For maximum clusters, some bakers even leave the pan in the turned-off oven with the door cracked for an extra 30 minutes. I do this when I remember, and it genuinely helps. Once fully cool, break into chunks by hand. If you’re adding dried fruit or chocolate chips, add them now — baking them makes fruit leathery and chocolate a burnt mess. The same moisture logic applies to my oat flour baking: dry ingredients, fully dried, stay crisp.
- Bake at 300°F, 40-50 min, stir every 15 min, thin layer
- Press flat after baking; cool completely untouched (1+ hour)
- Add dried fruit and chocolate only after cooling
- Egg white in the mix = better clusters
Storage That Keeps Granola Crunchy for Weeks
Cool completely before jarring — even slight warmth creates condensation inside the container, which is the number one crunch-killer. Use truly airtight containers: mason jars with tight lids, not the cute open crock. Store at room temperature in a cool, dark spot; the fridge introduces moisture every time you open it.
Add a food-safe silica packet if you’re serious (the kind from vitamin bottles, kept in a little mesh bag so it doesn’t mix with food). Properly dried and stored, granola stays crunchy 3 to 4 weeks — mine rarely lasts that long. If a batch does soften, 10 minutes in a 300°F oven revives it completely. Just cool it properly afterward this time.
My Base Recipe
4 cups old-fashioned oats, 1.5 cups mixed nuts and seeds, 1/2 cup honey or maple syrup, 1/3 cup melted coconut oil, 1 whisked egg white, 2 teaspoons vanilla, 1 teaspoon cinnamon, 1/2 teaspoon salt. Mix wet into dry, bake per above, cool untouched, then add 1 cup dried fruit and 1/2 cup chocolate chips or coconut flakes. It costs a fraction of store-bought and tastes better than any bag I’ve bought.
Customize freely: swap the nuts, change the spices (cardamom and ginger are excellent), add cocoa powder for chocolate granola. The method stays the same regardless of mix-ins. Serve over yogurt with berries, or eat it by the handful straight from the jar — the true test of breakfast meal prep success.
Savory Granola: Homemade Granola That Stays Crunchy for Weeks
Homemade granola that stays crunchy for weeks doesn’t have to be sweet. Savory granola — oats baked with olive oil, rosemary, parmesan, nuts, and a pinch of cayenne — is incredible over soups, salads, and roasted vegetables, adding the crunch of croutons with more nutrition. Use the same low-and-slow method (300°F, thin layer, cool untouched), swapping honey for an extra drizzle of olive oil and a beaten egg white for binding.
The formula: 4 cups oats, 1.5 cups nuts/seeds, 1/3 cup olive oil, 1 egg white, 1/2 cup grated parmesan, 2 teaspoons chopped rosemary, 1 teaspoon salt, 1/2 teaspoon black pepper, pinch of cayenne. Bake, cool, break into clusters. It keeps 3-4 weeks airtight and transforms a simple tomato soup into something special. Once you’ve mastered both sweet and savory versions, granola becomes a pantry staple rather than a breakfast-only item — and the Whole Grains Council notes that oat-based snacks like this are among the easiest ways to add whole grains to your day.
Granola Bars From Your Granola
Turn your crunchy granola into grab-and-go bars: warm 1/2 cup honey and 1/3 cup peanut butter until pourable, toss with 3 cups of your homemade granola plus 1/2 cup add-ins (chocolate chips, dried fruit, coconut), press firmly into a parchment-lined 8×8 pan, and chill 2 hours. The firm press is critical — loose bars crumble. Cut into 12 bars; they keep 2 weeks airtight.
The binding ratio is the whole recipe: too little honey-peanut butter and they fall apart, too much and they’re candy. Weigh it if you’re unsure — 170g honey to 85g peanut butter per 300g granola is the tested ratio. Wrap individually for lunchboxes (the same lunchbox logic as the apple slices — portioned, packable, no mess). Homemade bars cost a third of store-bought and taste better, with ingredients you can pronounce.
The Bottom Line
Bake low (300°F) until fully dry, cool completely without touching, add fruit and chocolate after, and store airtight at room temperature. That’s how you make homemade granola that stays crunchy for weeks — the crunch is about moisture control, not luck.